The retailer bundle for NetSuite allows users to integrate Logicbroker's services with their NetSuite transactions. This bundle handles:
- Sending NetSuite Purchase Orders to Logicbroker
- Pulling Logicbroker shipments into NetSuite as Item Receipts, Item Fulfillments, or Inbound Shipments
- Pulling Logicbroker invoices into NetSuite as Vendor Bills
- Pulling Logicbroker cancellations into NetSuite by closing Purchase Order lines
- Sending cancellation requests to vendors by closing Purchase Order lines
It also features a saved search, "Logicbroker Failed Exports", which allows users to conveniently view all documents that have failed to export to Logicbroker.
Installation
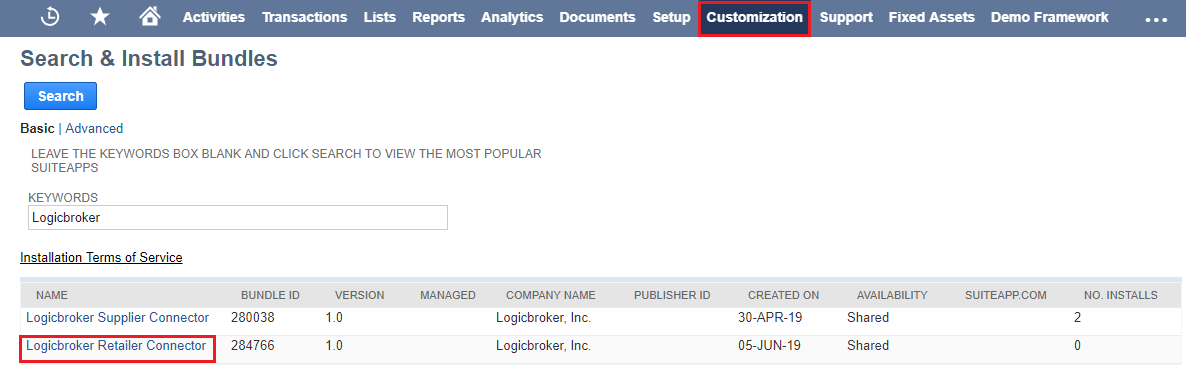
In NetSuite, navigate to Customization > SuiteBundler > Search & Install Bundles. Search for “Logicbroker” and select the “Logicbroker Retailer Connector” SuiteApp bundle.
Note:
You will need either Administrator privileges or the SuiteApp Marketplace permission (formerly SuiteBundler permission) in order to access this screen in NetSuite.
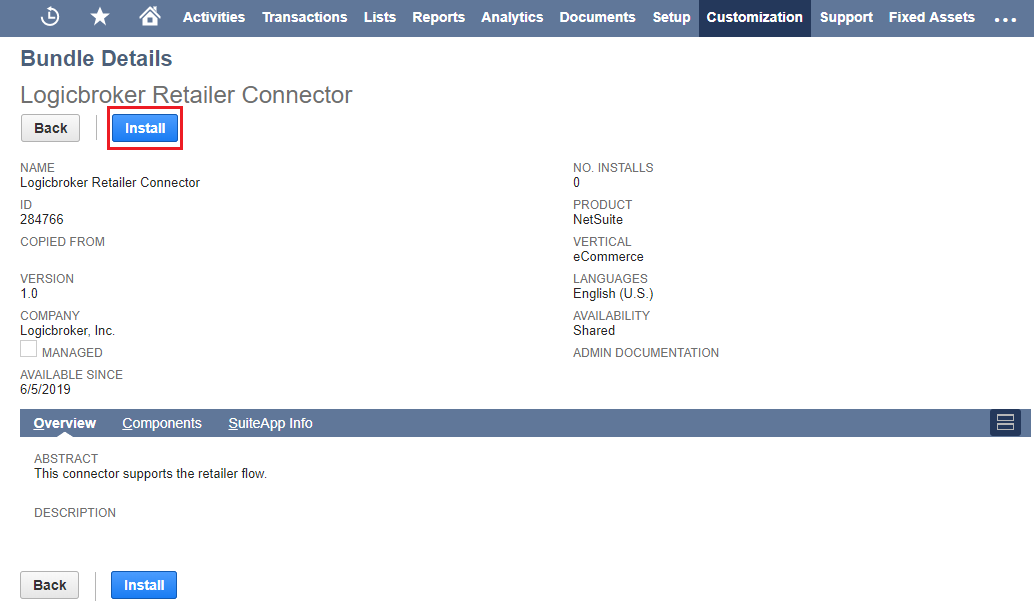
On the bundle’s page, click the install button to install it on your NetSuite instance.
Configuration
Once the bundle has been installed, navigate to Setup > Company > Preferences > General Preferences. Scrolling down, select the Custom Preferences tab. There will now be a section labeled “Logicbroker Retailer Connector”.
Enter your Logicbroker API key and select which endpoint to use.
You can also configure what Logicbroker status to pull shipments, invoices, and cancellations on and what status to update them to.
If you would like to send only drop ship purchase orders or only special order purchase orders to Logicbroker, check the corresponding checkbox. If you would like to be able to import invoices from Logicbroker even when they do not have a corresponding order in NetSuite, check Import Unlinked Vendor Bills.
If you would like to include values from the sales order on the purchase order when it imports into Logicbroker, check Include SO Values on Purchase Order. This will export the following fields to Logicbroker from the associated SO: Order Number (tranid), PO # (otherrefnum), Order Logicbroker Key, Customer (entity), Ship Method, Ship Carrier, and LB Class Code.
Note:
There are separate API keys associated with your staging and production environments. Be sure to match the API key with the proper API endpoint.
Tip:
We recommend you start out with your staging environment. Once you've tested everything in the staging environment, switching over to production is as easy as using your production API key and changing the API endpoint to "Production".
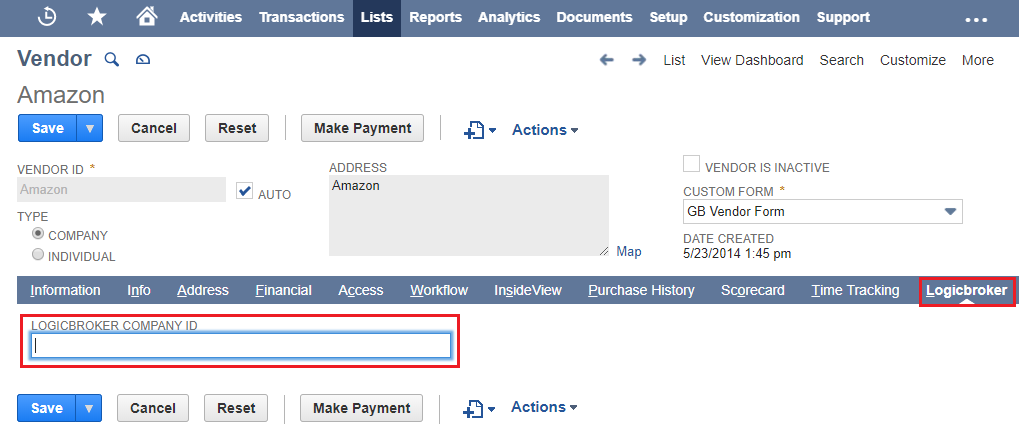
In order for Logicbroker to determine which vendor to send the orders to, please set up all NetSuite vendors with their corresponding Logicbroker Company ID, found on the Logicbroker tab.
In addition, if you are using the Inbound Shipment flow, you will also need to set up any relevant NetSuite locations with their corresponding Logicbroker Company ID.
For the Inbound Shipment flow, a checkbox will also need to be checked on any Purchase Orders using this flow. This can easily be automated in NetSuite using a script or a workflow.
Scheduled SuiteScripts Usage
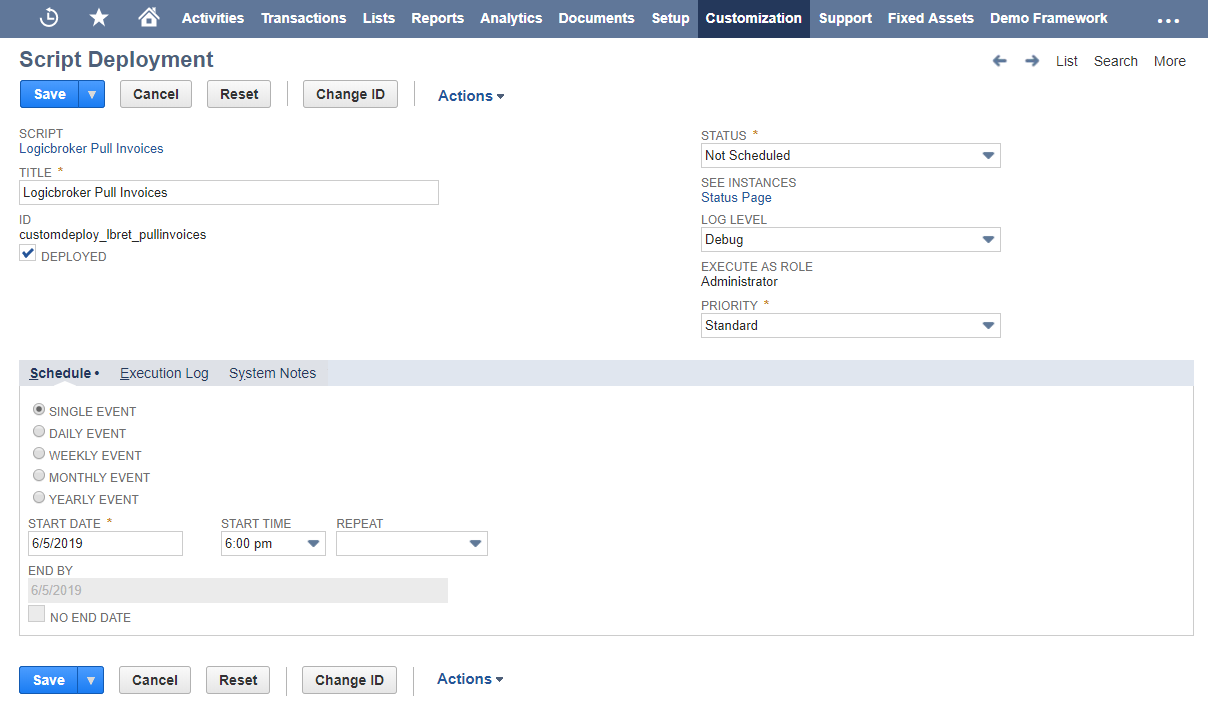
Under Customization > Scripting > Script Deployments, locate the Logicbroker Retailer Connector entries. Their IDs will all begin with “customdeploy_lbret_”.

For each of these script deployments, select Edit. You should see the following screen:
For testing:
To run a script for testing purposes (not scheduled), leave the Status as “Not Scheduled” and select the arrow next to the Save button to choose “Save and Execute”.
For scheduling:
To schedule the script, change the Status to “Scheduled” and adjust the Schedule tab to suit your needs and control how often the script will run. Then click Save.
Comments
Please sign in to leave a comment.