After the cartridge has been uploaded to the Commerce Cloud server, there are a few adjustments to make in Business Manager before it will work.
Configure logging
Navigate to Administration > Operations > Custom Log Settings.
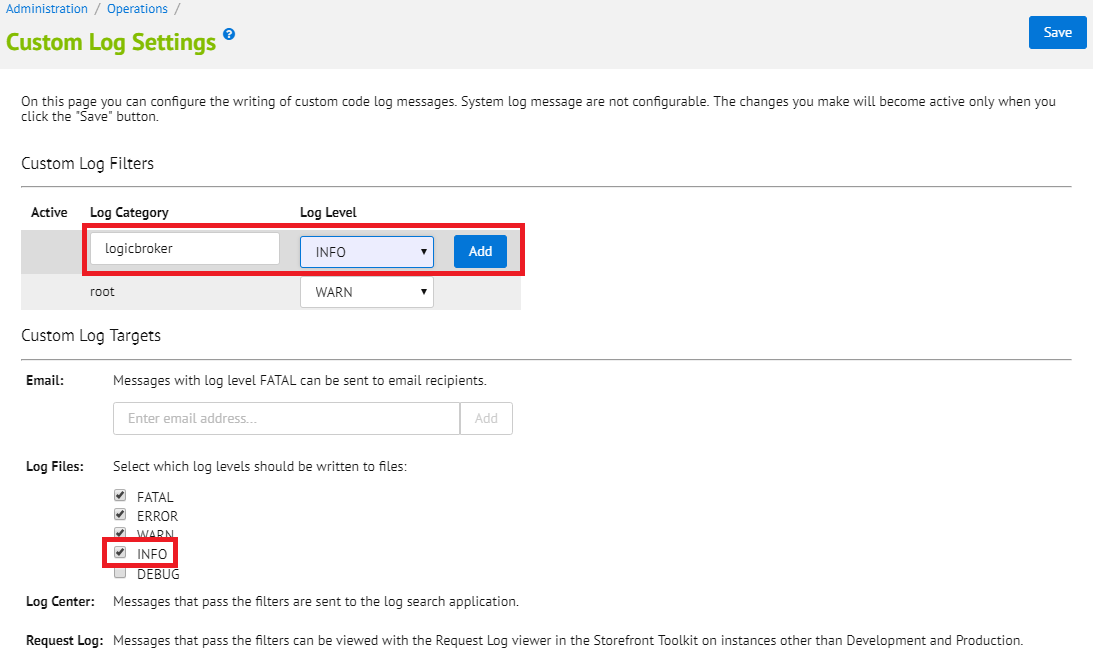
Add “logicbroker” as a log category with log level INFO. Under Log Files, check INFO if it is not already checked.
Configure Logicbroker credentials
For every site that you want to connect, navigate to Merchant Tools > Site Preferences > Custom Preferences. You should see a Preference Group called Logicbroker. If you do not, check that you uploaded the metadata.xml file correctly in Section 3.1.
Select “Logicbroker” to bring you to the Logicbroker configuration page.
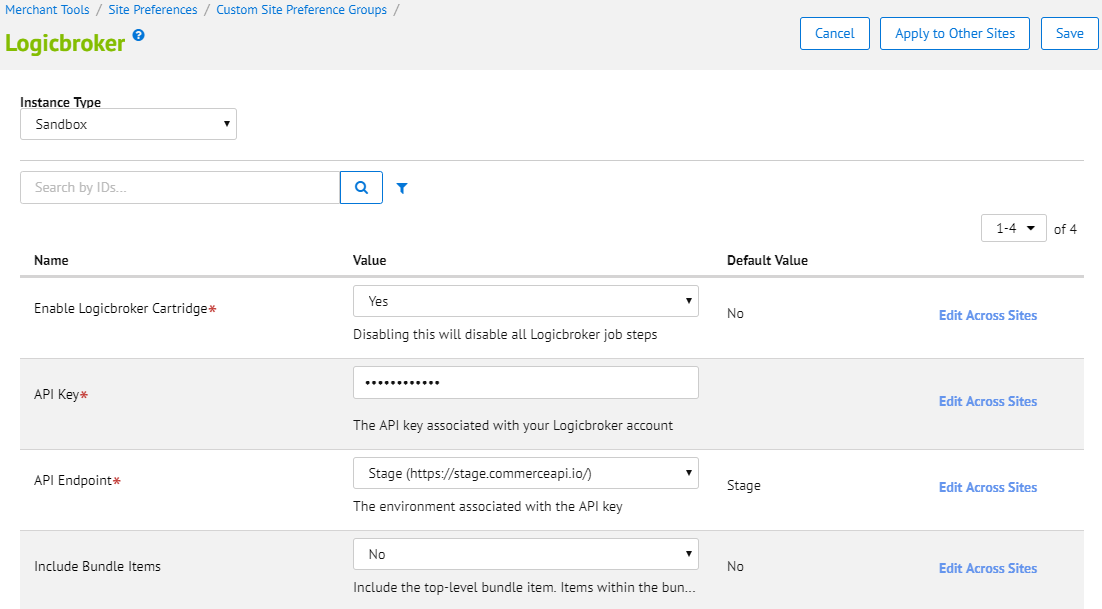
Please configure the fields with the following information:
- Enable Logicbroker Cartridge: Switch this to Yes to enable the cartridge. If it is not enabled, the jobs will NOT run, even if they are listed as enabled.
- API Key: Enter your Logicbroker API key. There are different API keys for the staging and production Logicbroker environments. These are separate from the Commerce Cloud server instance types.
- API Endpoint: Select whether the API key is associated with the stage or production endpoint. The API key and endpoint can be found in the Logicbroker portal.
- Include Bundle Items: When Yes, Logicbroker will import the top-level bundle item on the order, along with all of the bundled items. By default, this value is No. Items within the bundle are always included.
Note:
There are separate API keys associated with your staging and production environments. Be sure to match the API key with the proper API endpoint.
Tip:
We recommend you start out with your staging environment. Once you've tested everything in the staging environment, switching over to production is as easy as using your production API key and changing the API endpoint to "Production".
Configure job scopes
Navigate to Administration > Operations > Job Schedules. You should see five pre-loaded Logicbroker jobs. If you do not, check that you uploaded the jobs.xml file correctly in Section 3.1.
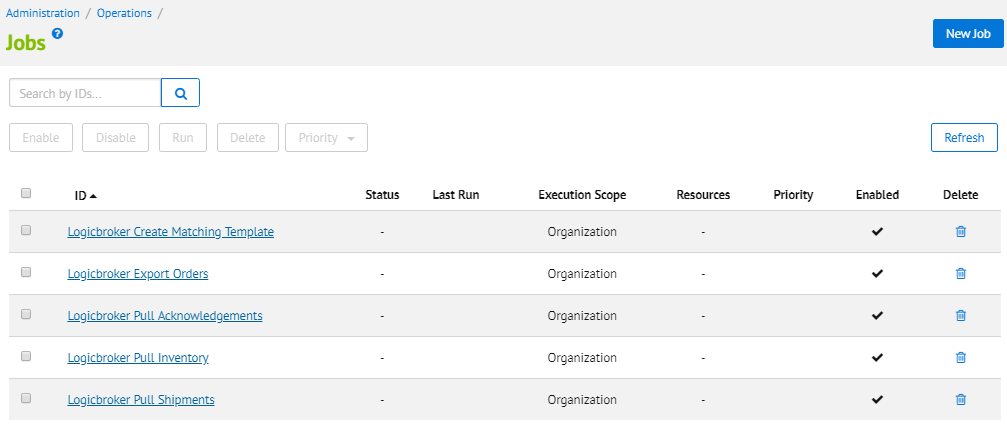
All five of the jobs come enabled but require a small amount of configuration before they will run. If your trading partners do not support sending acknowledgements, you can use the trash button to delete Logicbroker Pull Acknowledgements. If you do not need to download matching file templates, you can use the trash button to delete Logicbroker Create Matching Template.
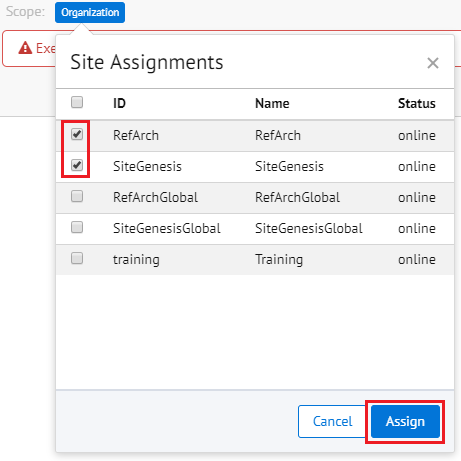
For each of the jobs, the scope needs to be configured. Click on each job and select the Job Steps tab. Then click where it says the scope is Organization.
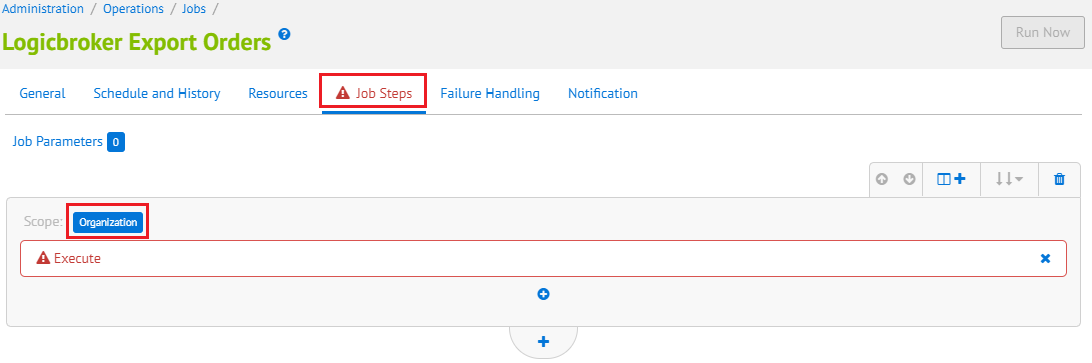
Check off all the sites which will be connected to Logicbroker. Then click Assign.
Configure job schedules
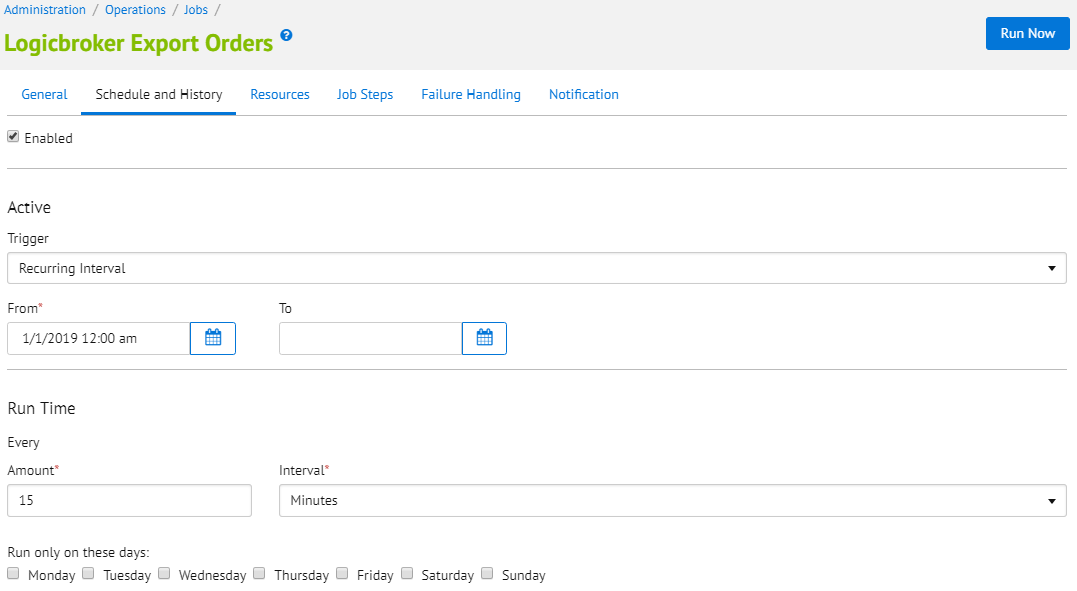
The inventory job comes preconfigured to run every hour, and the orders, shipments, and acknowledgements jobs come preconfigured to run every 15 minutes. However, these are entirely customizable by selecting the Schedule and History tab of the job. You can change the recurring intervals on a per-job basis to suit your business needs. The matching template job is not scheduled, and must be manually run unless otherwise configured.
Comments
Please sign in to leave a comment.