Regardless of communication method (EDI, API, Portal, etc.), you must first load some sample inventory and create your test orders in order to start working through the test cases.
Loading Test Inventory
Test orders cannot be generated until test inventory has been loaded. Ideally, you would load an inventory file that has real inventory data to ensure all data can be handled properly.
- EDI - load the 846 file through the established EDI AS2 connection or via FTP/SFTP.
- Excel or CSV - load the file through Stage Portal.
- See steps below for the template and steps.
- We recommend using an Excel file if you are not familiar with CSV-formatted files.
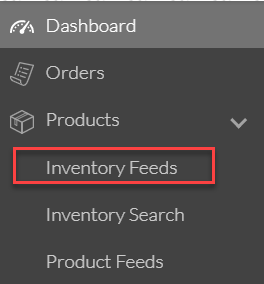
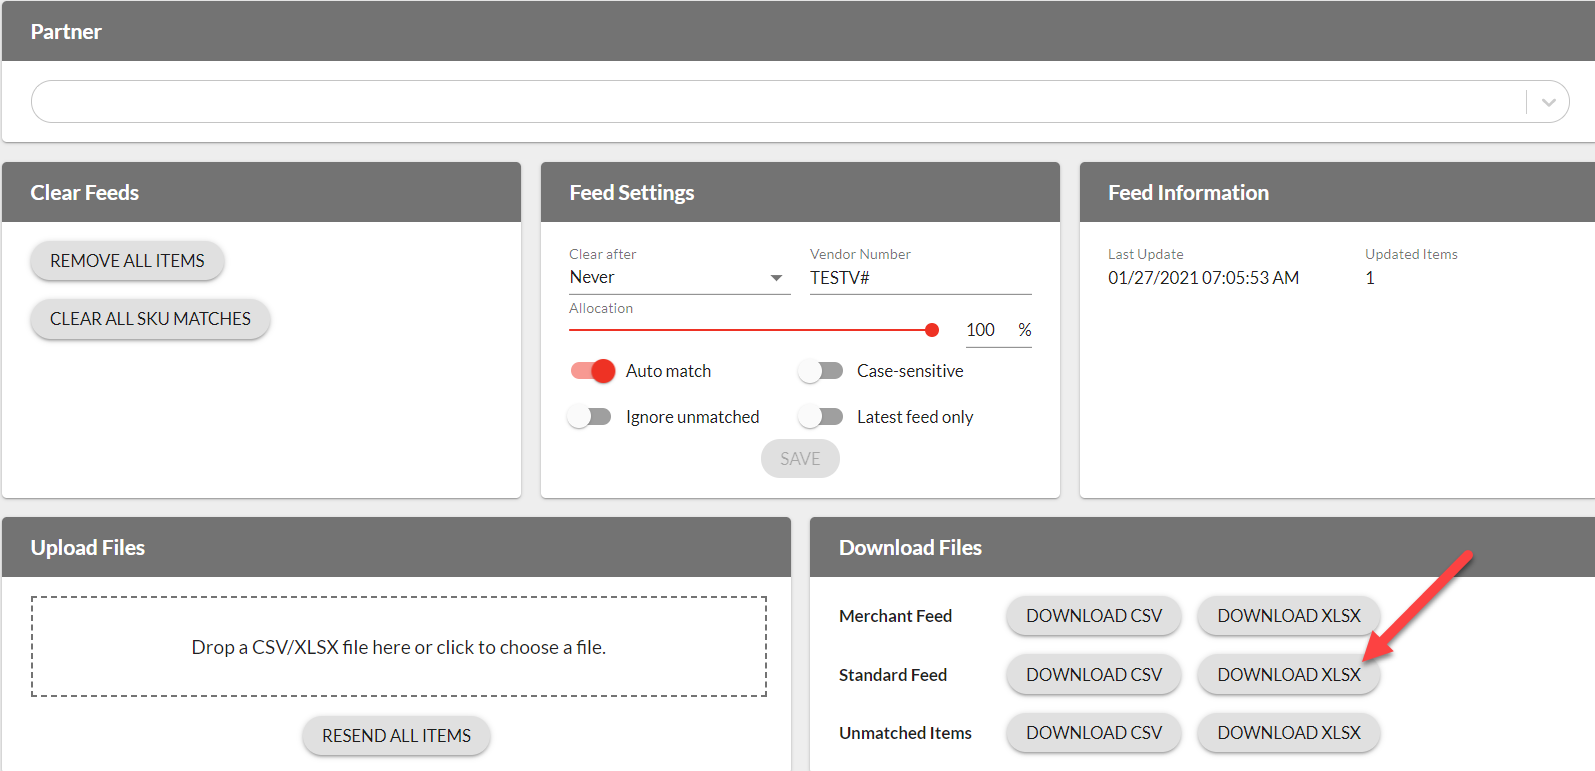
1. Navigate to Products --> Inventory Feeds.
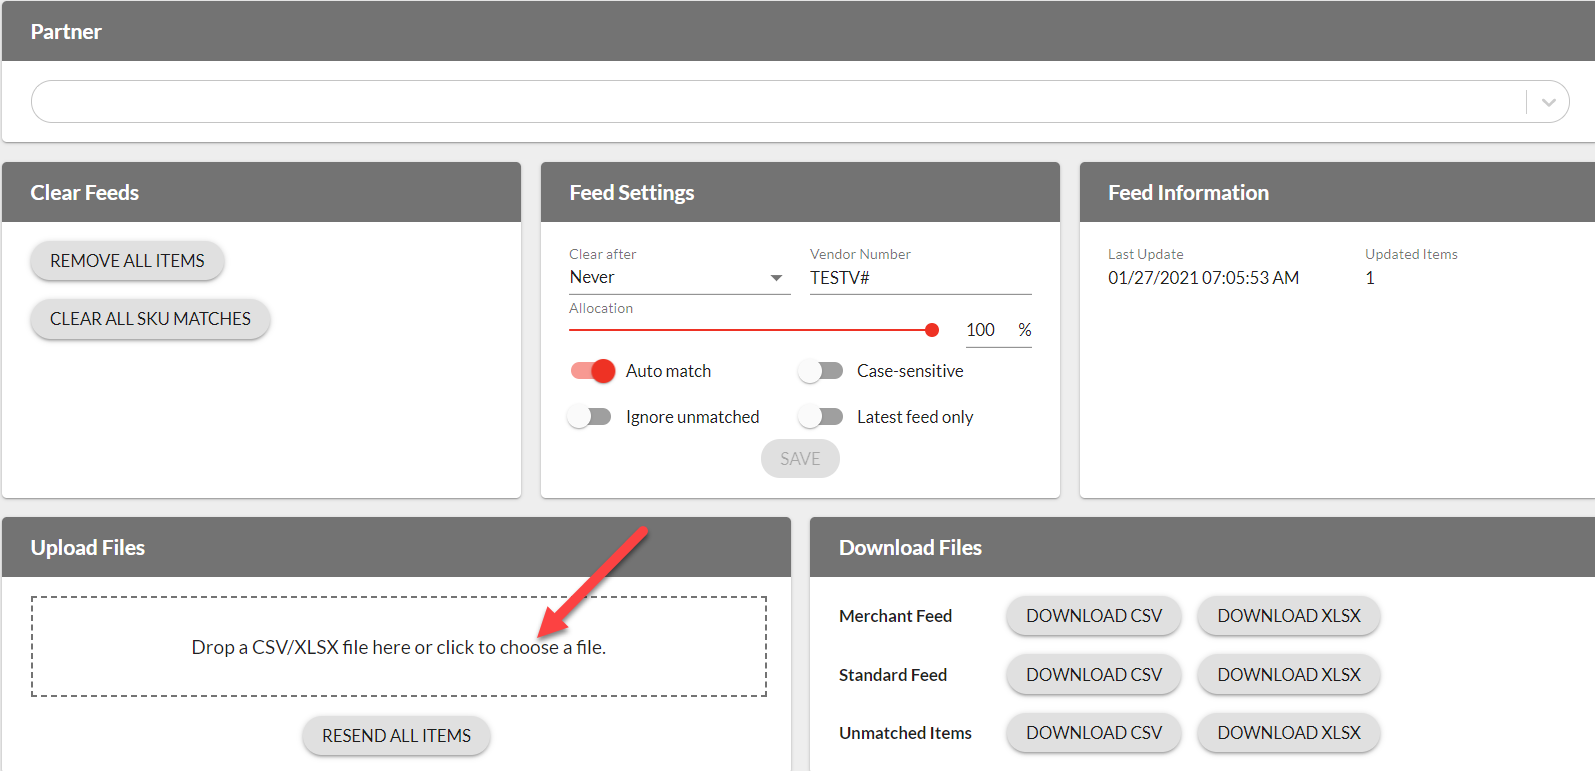
2. From the Download Files section, select Download XLSX (or CSV) to download the appropriate inventory headers in an Excel file.
3. Update the Excel file with the appropriate information.
- For testing, the only required fields are SupplierSKU, MerchantSKU, UPC and Quantity. Additional fields may be required depending on the Retailer specifications.
- Be sure to load at least 5 unique SupplierSKUs (anything less may cause issues with test order generation.
- NOTE: UPCs are typically 12 digits long, and we advise you format the field at Text to ensure the number is not converted into a scientific number.
- NOTE: A sample inventory file is attached to this article as well.

4. Drag and drop the Excel file in the Upload Files section OR click inside the dotted box to select a file to upload.
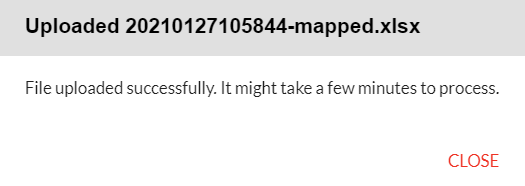
5. A dialogue box will appear advising you of the status of the upload. Click Close.
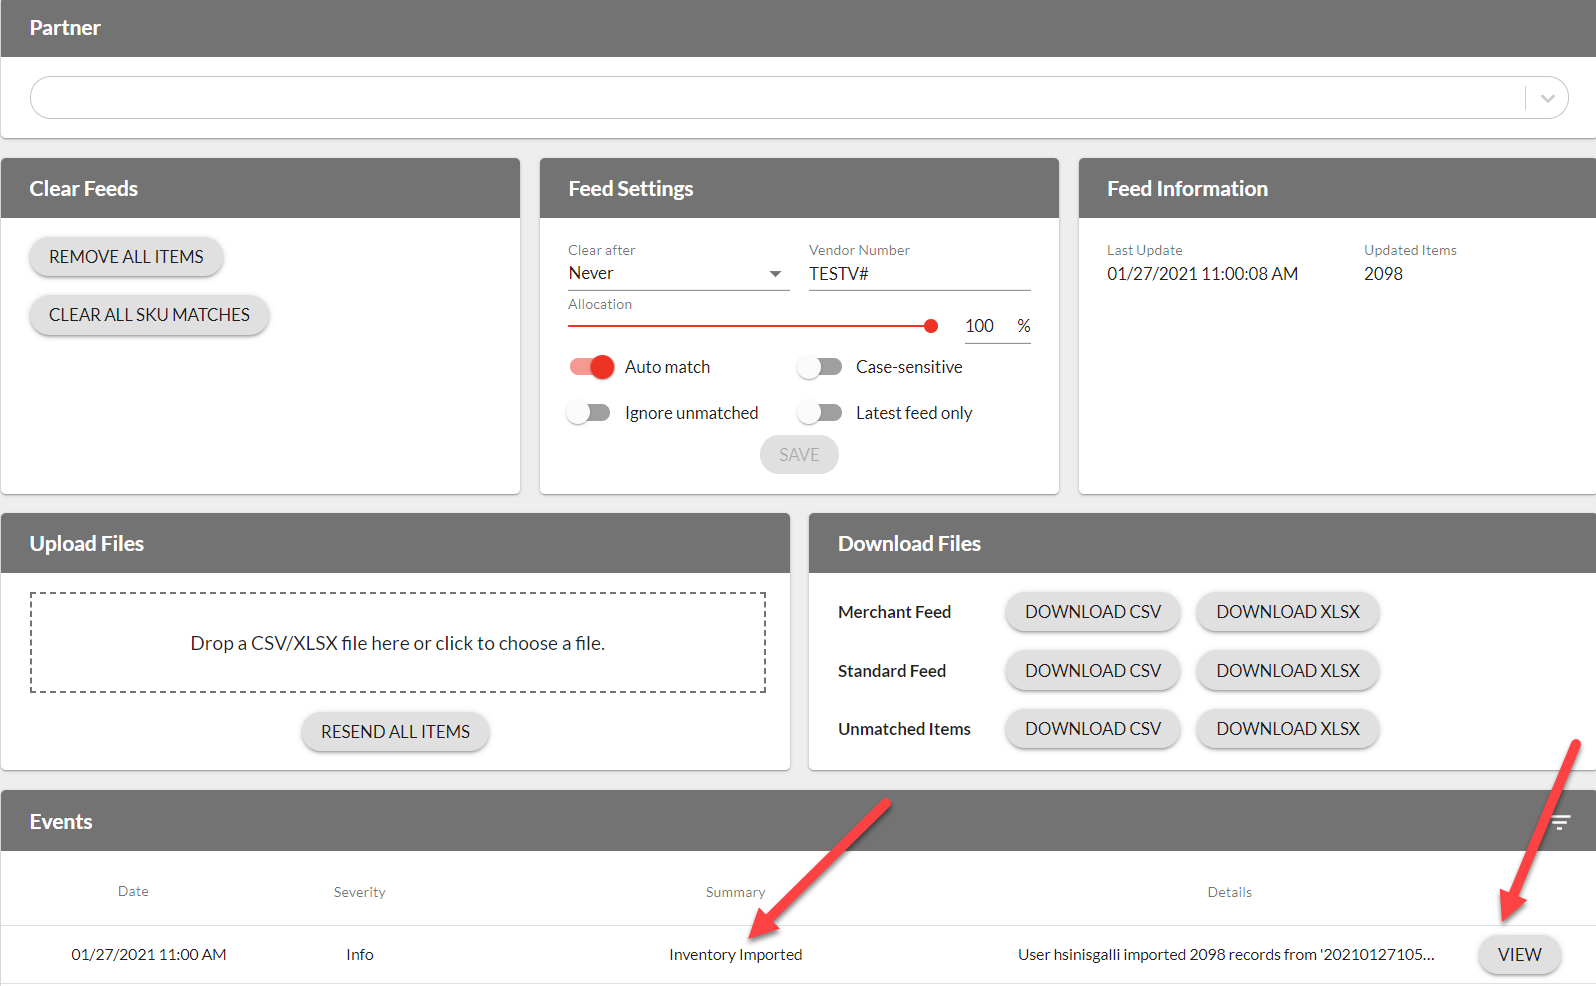
6. From the Events section, you can see that your file successfully loaded and you can review the file that was uploaded by clicking on View.
- A dialogue box appears where you can download the file that was originally uploaded.

You are now ready to generate your test orders.
Generate Test Orders
Regardless of the communication method (EDI, API, Portal, etc.), you will use the Testing module in Stage Portal to generate your test orders and review the results of your testing.
- EDI - all sent/received documents will be done through the connection you've established (AS2 or FTP/SFTP). You still need to generate the test orders in the Portal. Instructions below.
- API/JSON/XML - all sent/received documents will be done through the connection you've established (API, FTP, SFTP). You still need to generate the test orders in the Portal. Instructions below.
- Portal - all activities will be completed through the Portal.
- NOTE: You are able to combine actions. For example, you can do some actions via EDI and some via Portal (aka "mix and match").
1. Navigate to Testing.
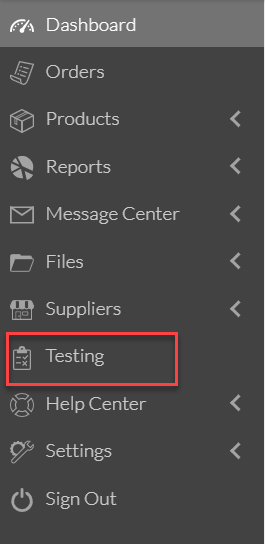
2. If you have multiple Retailers (aka Partners), you may have the option to select which Retailer you would like to test. Select the appropriate Retailer by clicking View.

3. The listing of required testing cases to complete are provided. Click on Create A New Test Order for the first test.
- NOTE: When you generate the order, it creates a test order that will be visible in the Portal but will also send via EDI, API, etc. depending on your communication method.
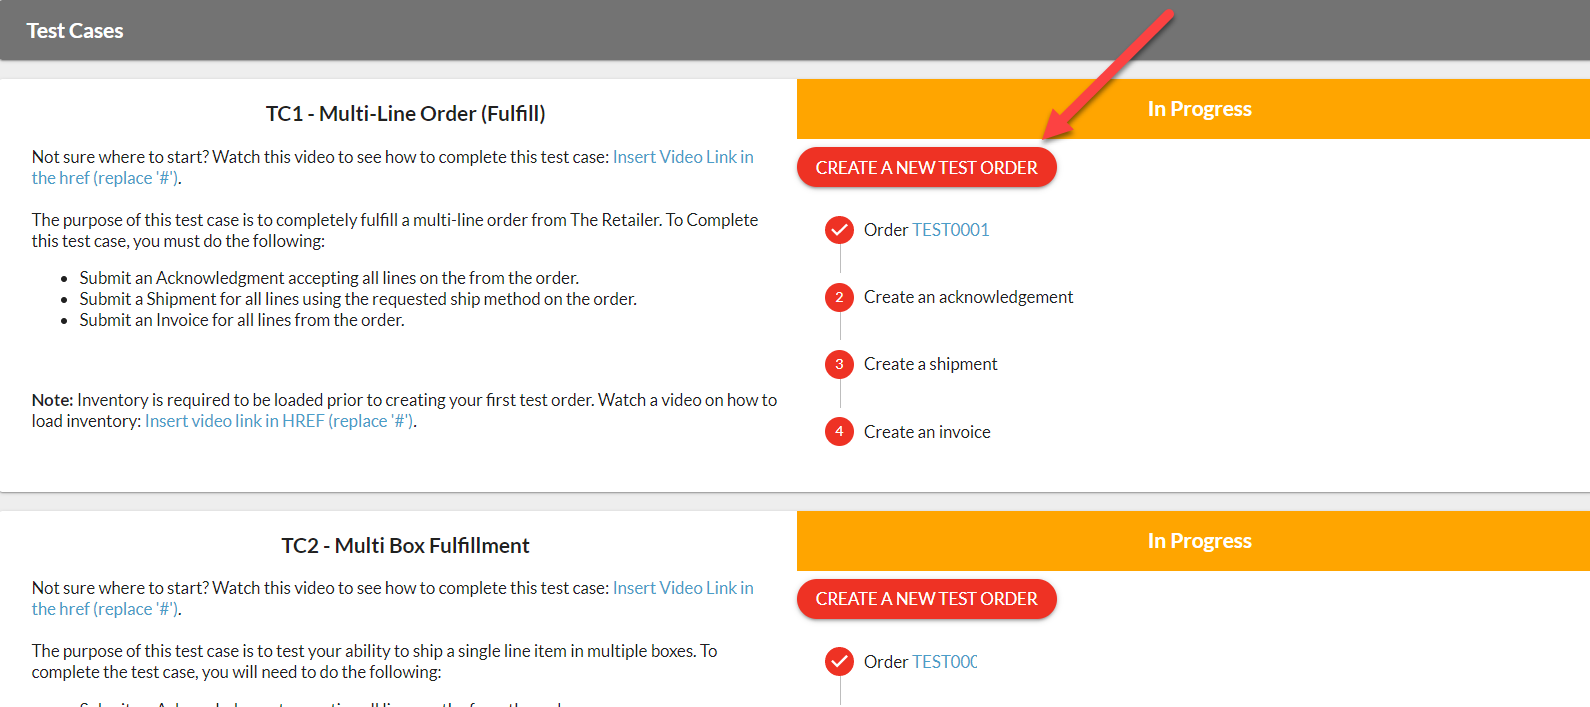
4. Now that you have generated the order, you review the order. Click on the order number.
- NOTE: Below the order number, you can see the expected steps/documents you should be taking. The description on the left also includes more details on the actions expected.
- NOTE: Once you click on the order, you can see at the top of the order a link that takes you back to the Test Case page. It may take a moment (less than 30 seconds) for the test order to be "ready" to start taking action on.


5. Once you complete a test, the status moves to Complete (green).

6. At any time, you can generate a new test order if you would like to start over, try again, etc. Just click on Create A New Test Order.

Comments
Please sign in to leave a comment.